
MPV媒体播放器的安装及配置
安装
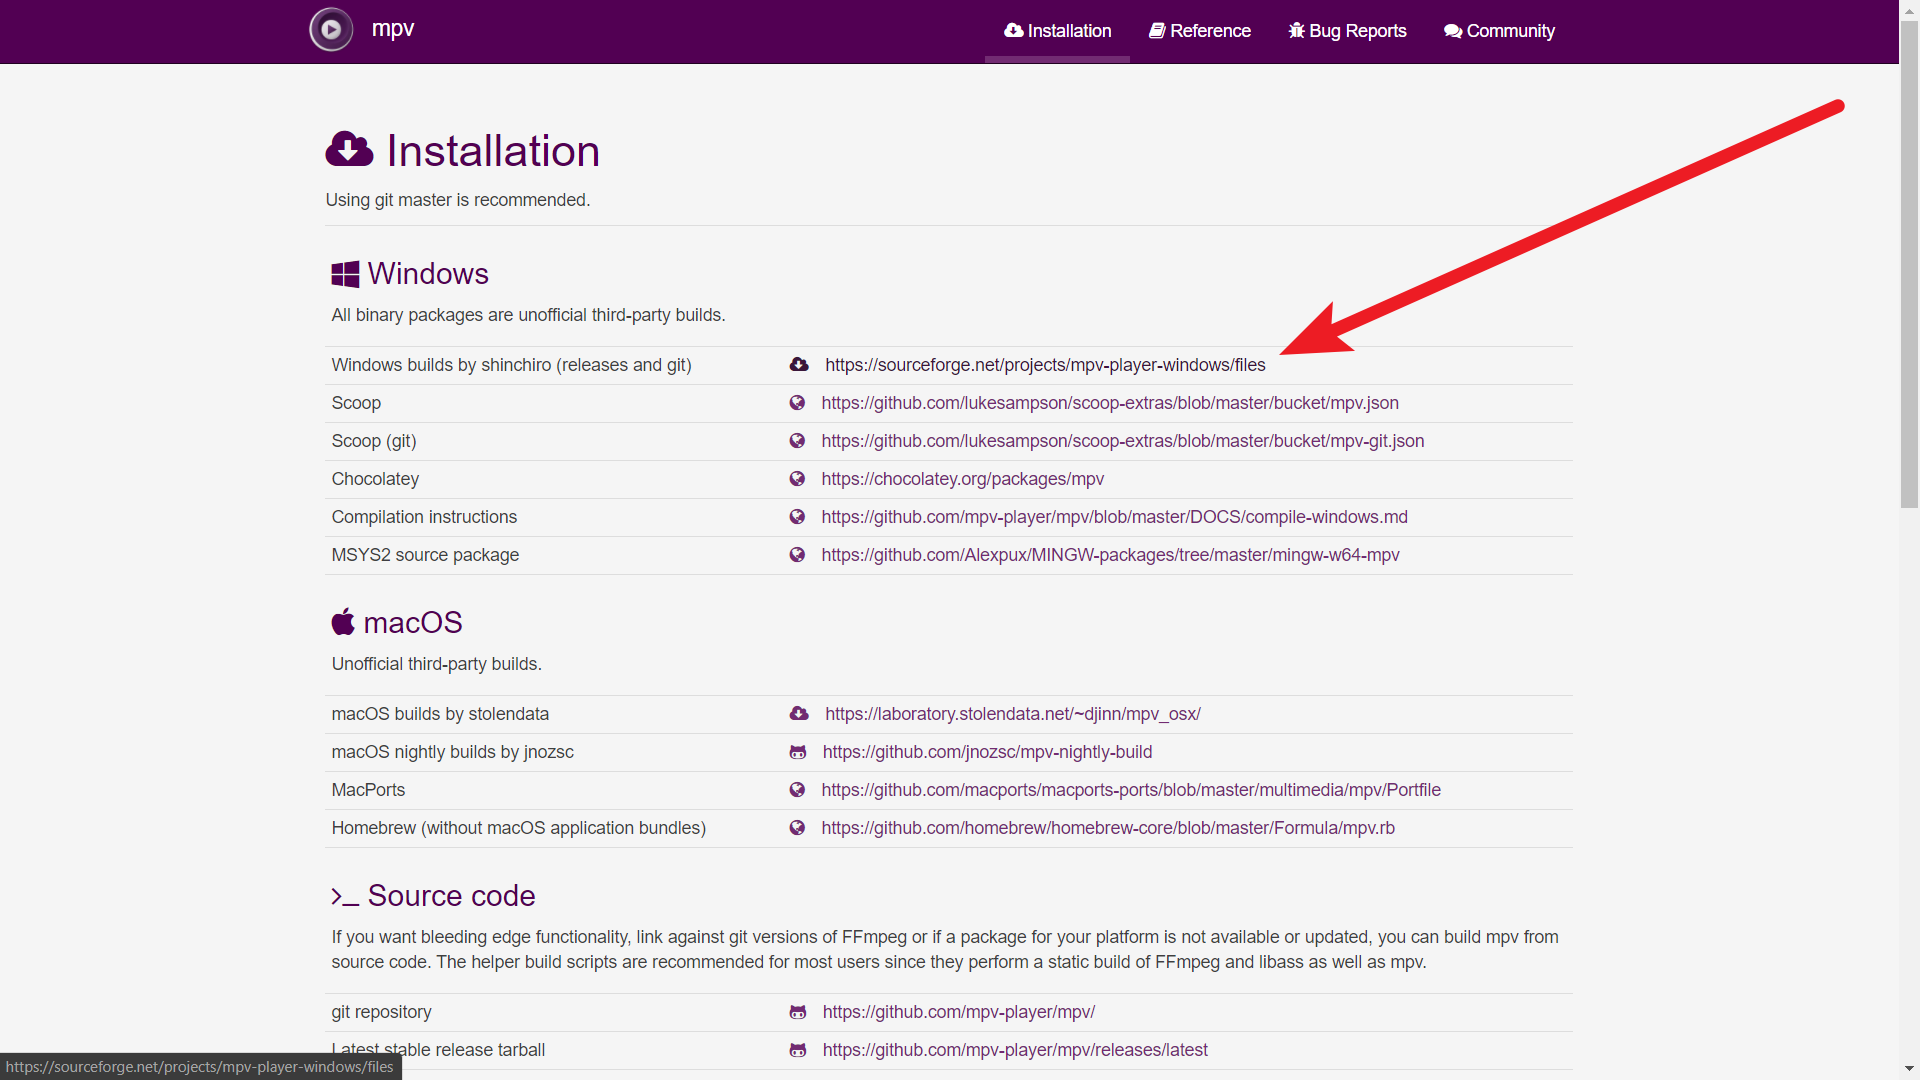
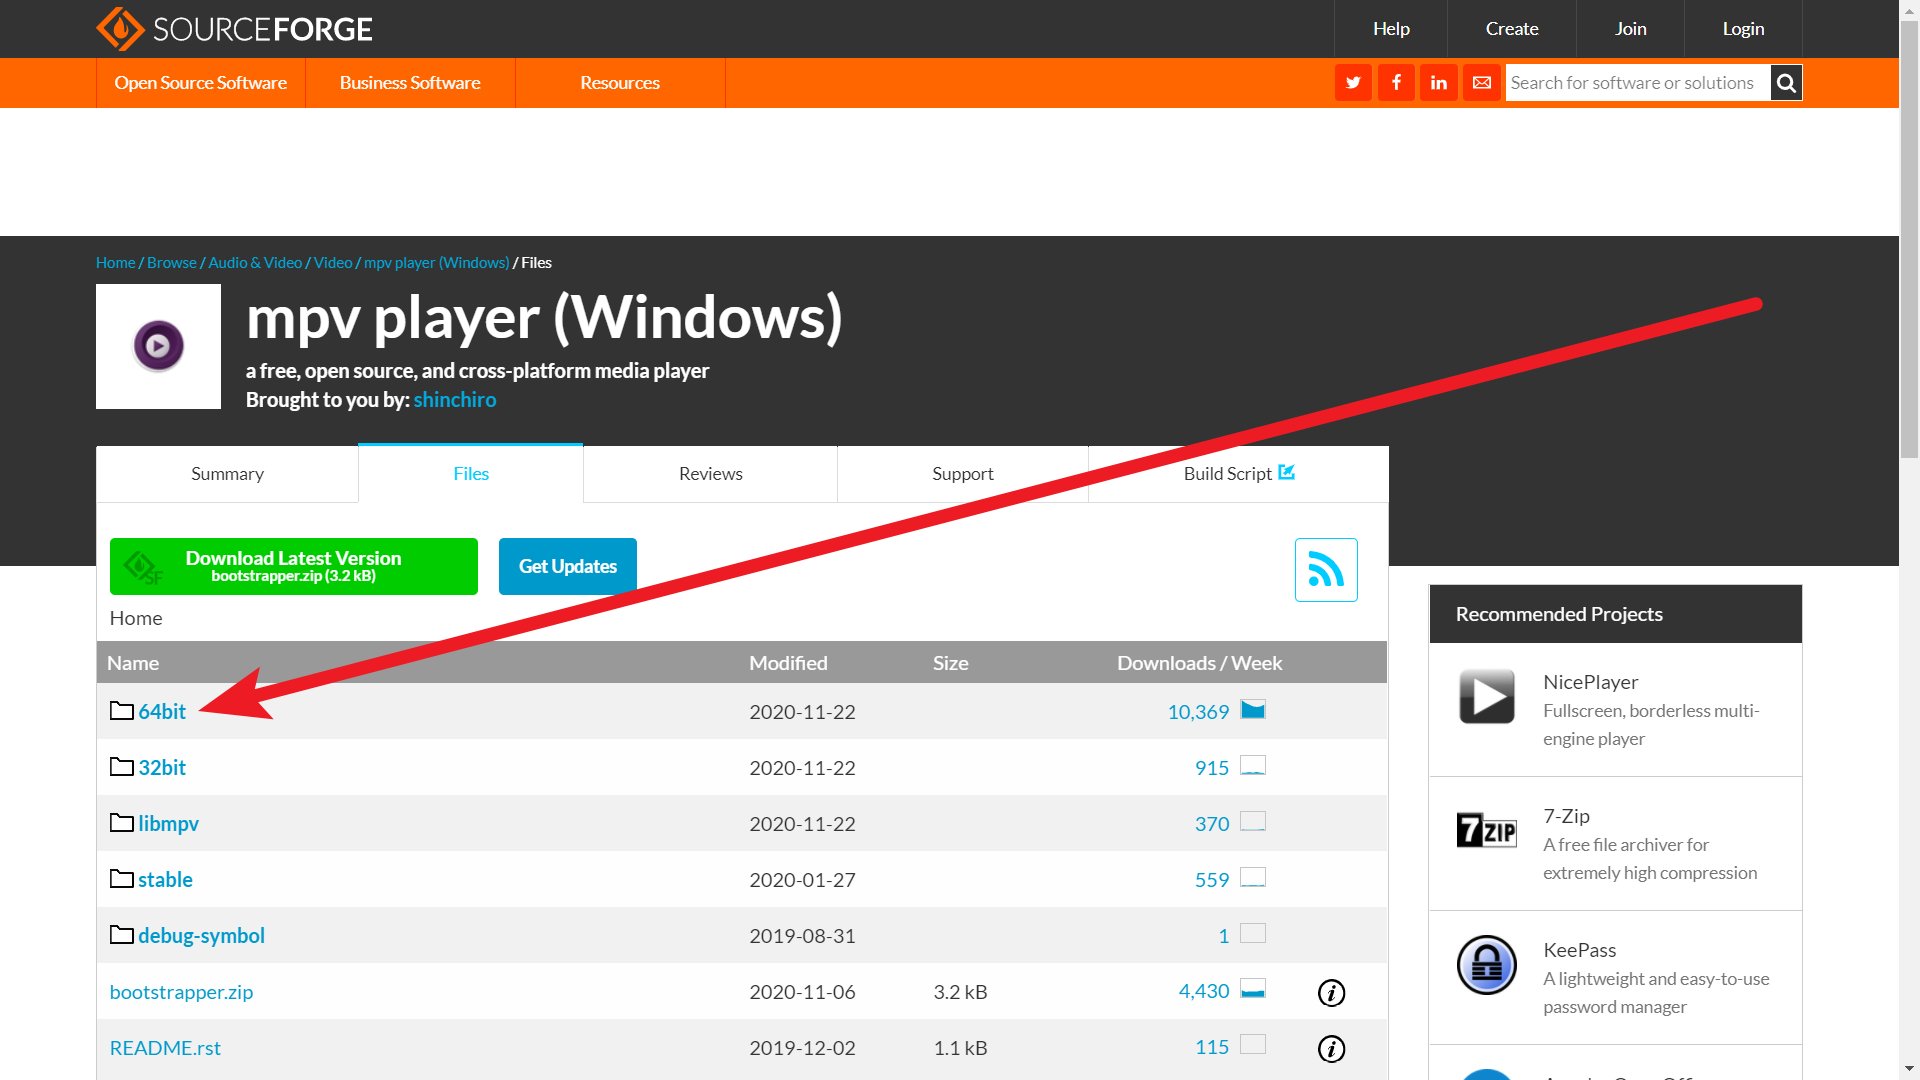
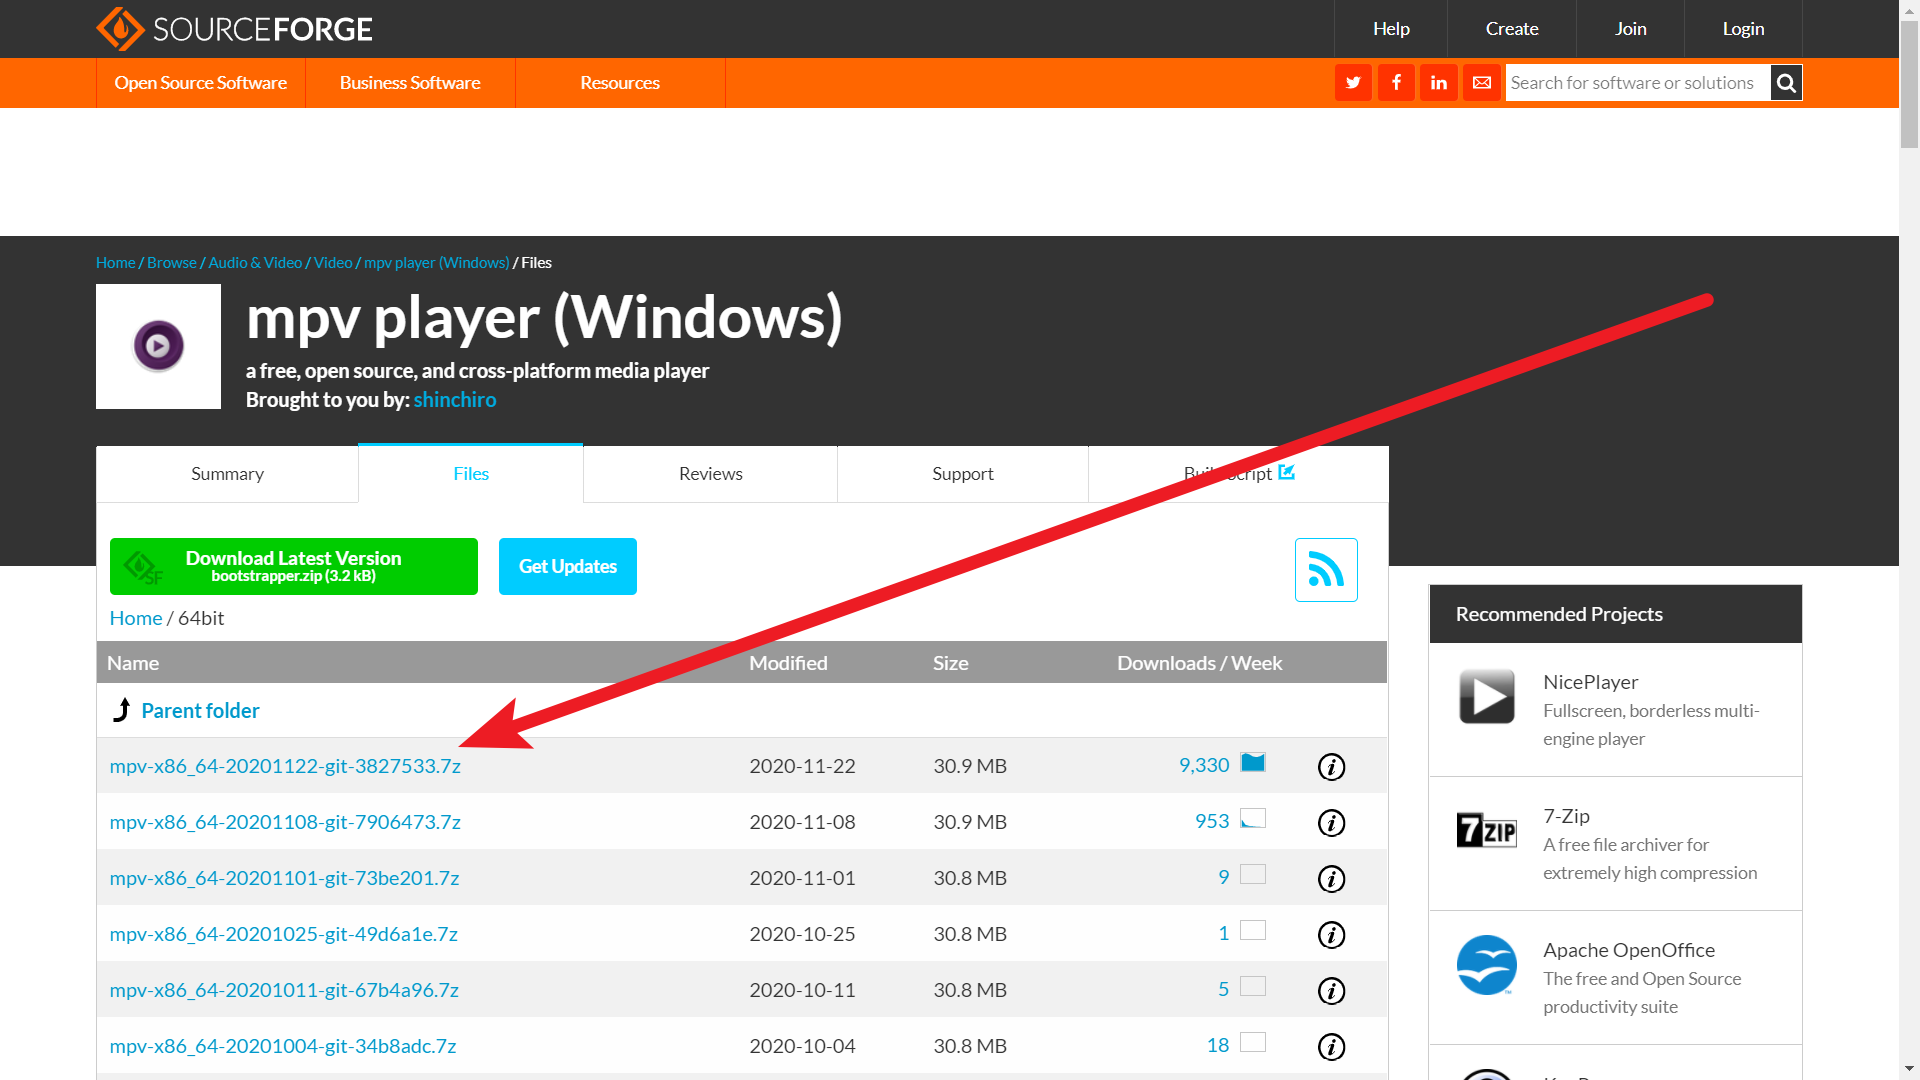
- 访问官网,点击installation

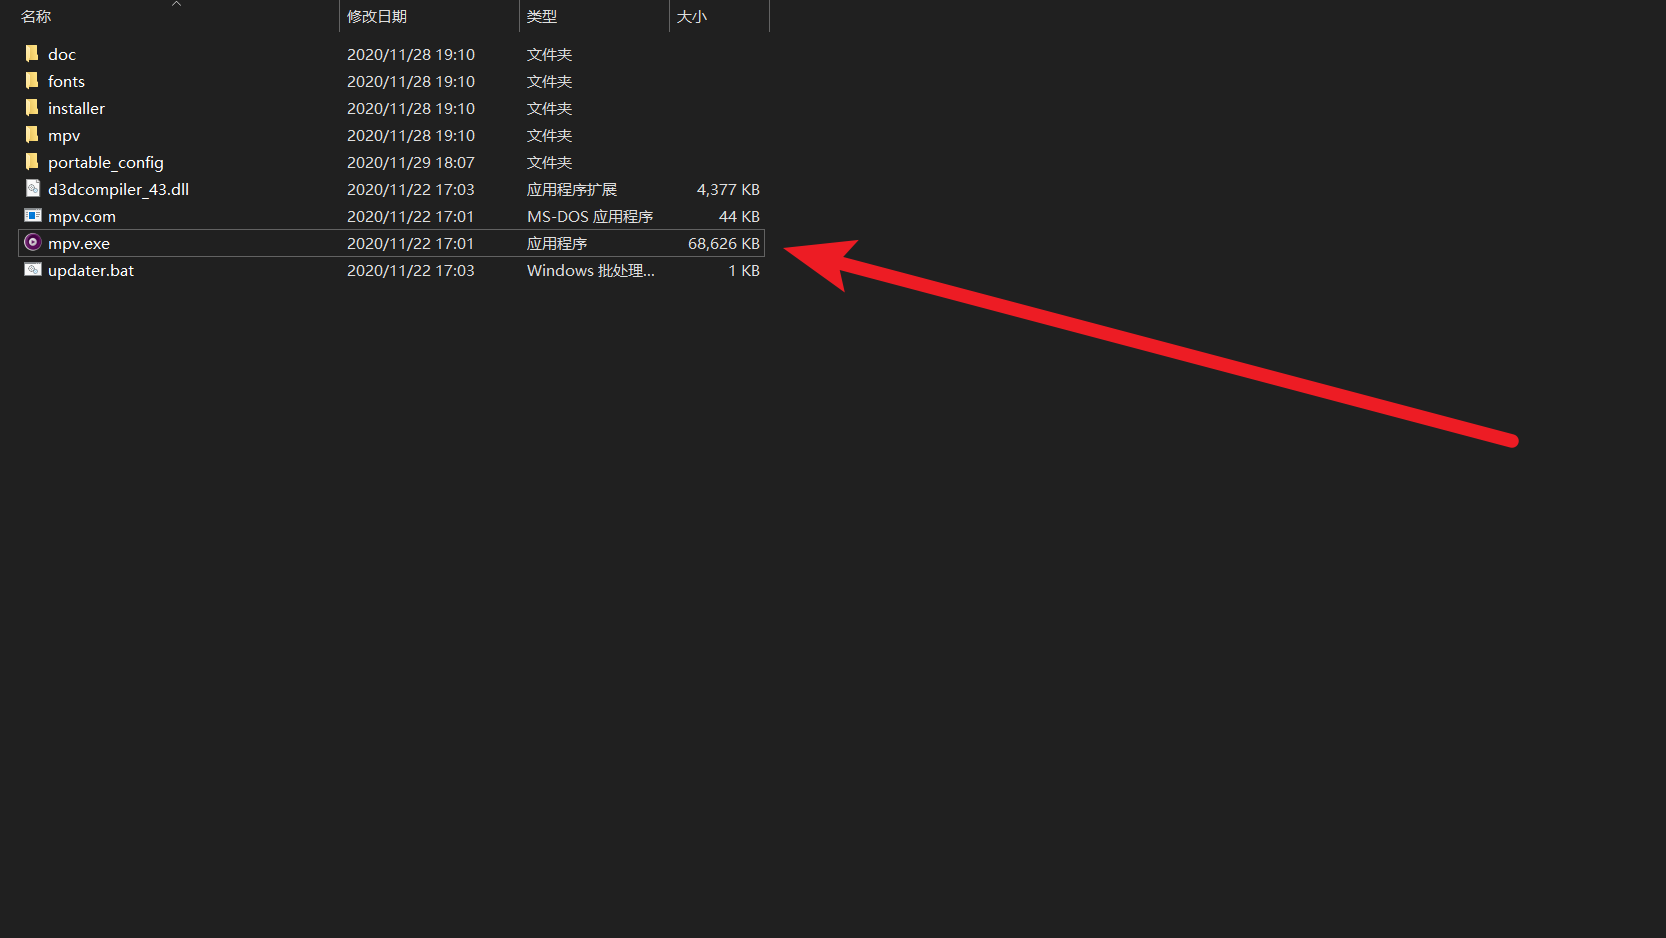
- 下载完压缩包后,解压,因为mpv是便携式软件,不需要安装到电脑上,只需双击mpv.exe即可运行
配置
- 在解压后的文件夹中,新建一个文件夹portable_config

进入portable_config文件夹中,创建配置文件mpv.conf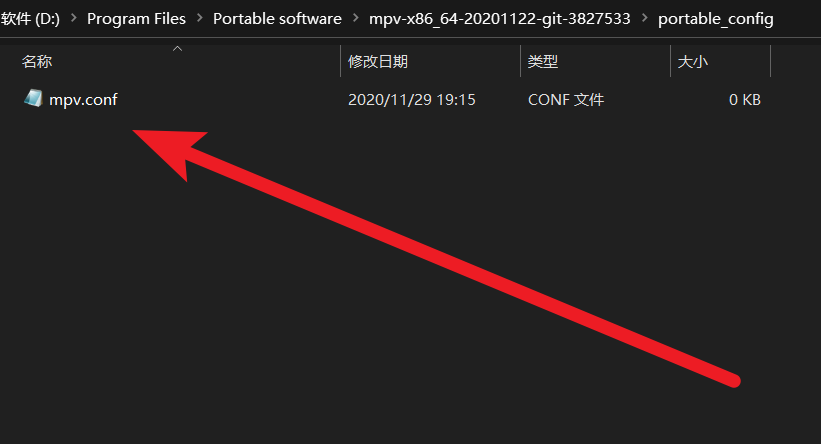
- 打开mpv.conf,添加以下内容
1
2
3
4
5
6
7
8
9
10
11
12
13
14
15
16
17
18
19
20
21
22
23
24
25
26
27
28
29
30
31
32
33
34
35
36
37
38
39
40
41
42
43
44
45
46
47
48
49
50
51
52
53
54
55
56
57
58
59
60
61
62
63
64
65
66
67
68
69
70
71
72
73
74
75
76
77
78
79
80
81
82
83
84
85
86
87
88
89
90
91
92
93
94
95
96
97
98
99
100
101
102
103
104
105
106
107
108
109
110
111
112
113
114
115
116
117
# 关闭窗口装饰(无边框)
no-border
# 隐藏快进快退时候的白条
--osd-level=0
# 设定程序启动后的默认音量
volume=100
# 使字幕输出在黑边上
sub-ass-force-margins=yes
# 一套预设的高质量渲染设置
profile=gpu-hq
# gpu-hq contains:
# scale=spline36
# cscale=spline36
# dscale=mitchell
# dither-depth=auto
# correct-downscaling=yes
# linear-downscaling=yes
# sigmoid-upscaling=yes
# deband=yes
# 开启色彩管理
icc-profile-auto
blend-subtitles=video
# 将画面拉伸算法更改为 EWA Lanczos
scale=ewa_lanczossharp
#启用 interpolation 来消除帧率问题造成的卡顿
video-sync=display-resample
interpolation
tscale=oversample
# 关闭软解
hwdec=no
# 高优先级
priority=high
# gpu-api的选择?
# macOS: 只有opengl可选
# Linux: vulkan或者opengl,推荐vulkan
# Windows:vulkan、d3d11及opengl都可选。三者理论上vulkan性能最好,实际使用上可能差别不大。
# 三者无法并存,去掉行首的'#'启用,加上'#'禁用
#----------------------------------------
# 使用d3d11 (mpv对于windows的默认。显卡一定要开自适应电源模式,否则性能比vulkan差)
# gpu-api=d3d11
# ----------------------------------------
# 使用vulkan
gpu-api=vulkan
# ----------------------------------------
# 使用opengl
# gpu-api=opengl
# 对windows,使用angle后端
gpu-context=angle
# 记忆上次播放的位置
# 需要mpv.conf所在文件夹有用户写入权限,或者用watch-later-directory=路径来手动指定。
save-position-on-quit
# may help with 4K videos
opengl-pbo=yes
# 画面抖动处理,默认6。会稍微延缓mpv启动
temporal-dither
dither-size-fruit=7
# smooth motion
interpolation
# 启用校色,默认64x64x64。会稍微延缓mpv启动
icc-profile-auto
icc-3dlut-size=256x256x256
# 在mpv.conf所在目录下建一个 shaders_cache 空文件夹,以存放编译好的GPU shaders,加速启动。
# 如果不放APPDATA下,确保该文件夹有用户写入权限。
gpu-shader-cache-dir="~~/shaders_cache"
# WASAPI音频输出(Windows)
# 其他系统请相应更改音频输出方式
ao=wasapi
# 如果双声道系统播放多声道影片时有的声道声音没出现,尝试强制设定为双声道
#audio-channels=stereo
# 规格化:
#audio-normalize-downmix=yes
# 多声道音轨downmix成双声道时,如果觉得背景音过响,角色台词声音小,尝试看看这个:https://github.com/mpv-player/mpv/issues/656
# 字幕配置
sub-auto=fuzzy
sub-file-paths=subs
slang=chi,zh-CN,sc,chs
# 字幕显示出来和xy-subfilter不一样?尝试启用下面的设置
#sub-ass-vsfilter-aspect-compat=no # 关乎字幕是否随视频拉伸
#sub-ass-vsfilter-blur-compat=no # 关乎字幕模糊的设定
# 即使都用上了也不一致?那不是这两个选项的问题,重新注释掉这两行,回帖问吧。(多半是vsfilter/libass其中一个的bug)
# 音轨配置
audio-file-auto=fuzzy
alang=jpn,ja,eng,en
# 截图配置
screenshot-template=~/Desktop/mpv-screenshot-%f-%p
screenshot-format=png
screenshot-tag-colorspace=yes
screenshot-high-bit-depth=yes
# 根据视频是否是HDR以及视频aspect ratio决定是否启用blend-subtitles的profile
# 目前HDR->SDR建议关闭blend-subtitles,见https://github.com/mpv-player/mpv/issues/6368
# 如果hdr-compute-peak将来继续改进可能可以兼容blend-subtitles
[HDR_or_21:9]
profile-desc=cond:(p["video-params/primaries"]=="bt.2020" or p["video-params/aspect"]>=2.0)
blend-subtitles=no
快捷键
默认快捷键
按键    功能
RIGHT    前进 5 秒
LEFT    后退 5 秒
UP    前进 60 秒
DOWN    后退 60 秒
[    0.9091 倍速播放
]    1.1 倍速播放
{    0.5 倍速播放
}    2.0 倍速播放
Backspace    还原到 1.0 倍速
Space 或 p    播放/暂停
.    下一帧
,    上一帧
9 或 /    音量 -2
0 或 *    音量 +2
f    切换是否全屏
v    显示/隐藏字幕
T    切换是否前端显示
s    截屏,有字幕
S    截屏,无字幕
o    显示进度条与时间,2 秒后消失
I (大写 i)    显示当前文件名
1    对比度 -1
2    对比度 +1
3    亮度 -1
4    亮度 +1
5    Gamma 值 -1
6    Gamma 值 +1
7    饱和度 -1
8    饱和度 +1
l (小写 L)    设置/清除 A-B 循环点
j/J    选择字幕
#    切换声道
q    退出
自定义快捷键
进入portable_config文件夹中,创建配置文件mpv.conf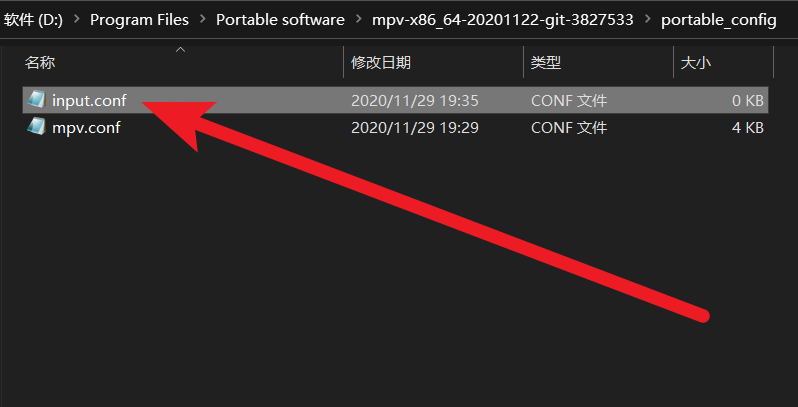
打开input.conf,添加以下内容
# 禁用鼠标左右键单击
MBTN_LEFT    ignore
MBTN_RIGHT    ignore

# 全屏切换(回车键及小键盘确认键)
Enter        cycle fullscreen
KP_ENTER    cycle fullscreen

# 双击左键 播放/暂停
MBTN_LEFT_DBL    cycle pause

# 滚轮上下滑动调节音量
WHEEL_UP      add volume 5
WHEEL_DOWN    add volume -5

# 滚轮左右滑动调节进度条
WHEEL_LEFT    seek -3
WHEEL_RIGHT   seek 3

# 左右方向键调节进度条
RIGHT         seek 3 relative+exact
LEFT          seek -3 relative+exact
Ctrl+RIGHT     seek 30 relative+exact
Ctrl+LEFT     seek -30 relative+exact
Shift+RIGHT seek 60 relative+exact
Shift+LEFT  seek -60 relative+exact

# 上下方向键调节音量
UP         add volume 5
DOWN     add volume -5

# 禁用默认 暂停/播放 快捷键
p ignore

# 逐帧前进后退
f frame-step
d frame-back-step

# 空格键 播放/暂停
SPACE cycle pause

# 字幕校正
, add sub-delay -0.1
. add sub-delay +0.1

# 静音
m cycle mute

# 文件信息
TAB script-binding stats/display-stats

# 禁用一系列快捷键
9 ignore
/ ignore
0 ignore
* aignore
1 ignore
2 ignore
3 ignore
4 ignore
5 ignore
6 ignore
7 ignore
8 ignore
i ignore
参考文章
本博客所有文章除特别声明外,均采用 CC BY-NC-SA 4.0 许可协议。转载请注明来自 WINDLEAF!
评论